|
Are you having trouble setting the project? Follow this guide in order to learn how to setup the project properly so that you can run in your system. Send me a contact request if you have issues getting the project up and running ... Currently Implemented Features: * Fully Authoritative Server * Third Person Controller * Movement System * Quest System * Inventory System * Login System * Basic Character Creation System * Master/Client Architecture * Interest Management (Server implementation) * Chat System * Social System * Abilities/Spell System * Interaction System * Client side prediction * Looting * Basic combat * GUI * Sample Terrain Server A. RavenDB Setup 1. RavenDB SDK can be downloaded from http://ravendb.net/download. Install/Extract the SDK. 2. Let's install the server. Open command-line (Press Win + R on the keyboard and type in "cmd" and press enter. 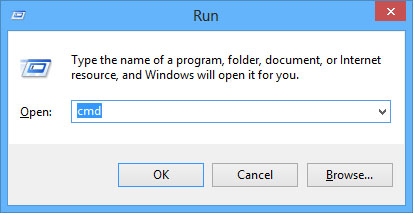 3. While in command-line locate the RavenDB folder and locate the server directory. For example if you installed RavenDB under C:\RavenDB type in the following: "C:\RavenDB\Server\Raven.Server.exe /install" this will prompt another window which will install the RavenDB server on your computer. Alternate Method: Alternately you can open the RavenDB folder and locate the "Server" directory. Open Notepad and type in the following and save it as "_install.bat" make sure it has the extension of "bat" not "txt" inside the RavenDB server directory. Then run the file. This is much easier to run the server and makes installation easier in the future. 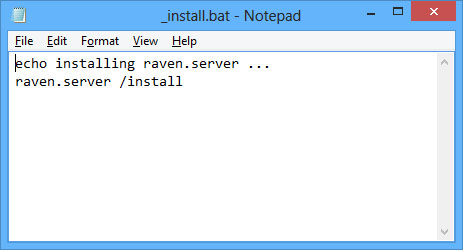 4. Before we moving on to setting up the server we need to create some databases for our game inside RavenDB. If you installed RavenDB correctly you will be able to open the editor using http://localhost:8080/raven/studio.html 5. Create 4 different databases according to the screenshot below. (By going "Databases -> New Database" and entering the name of the database. Make sure not to change default options unless you know what you are doing)  B. Photon Setup 1. Photon SDK can be downloaded from https://www.exitgames.com/ You can choose a wide range of licenses from there on. You DO need to create an account and download the server SDK. Download one of the licenses. Photon currently offers a 100 CCU (Concurrent users) license for free. 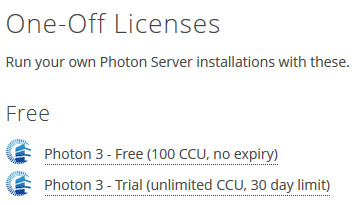 2. Download the latest server and the client SDKs. Make sure to download the appropriate client SDK, we need the Unity client SDK.   3. Install the server SDK. 4. Open the server folder which is located under Zo2 MMO\server. Open the solution using Visual Studio or similar tool. You can get VS Express for free at http://www.microsoft.com/visualstudio/eng/products/visual-studio-express-products 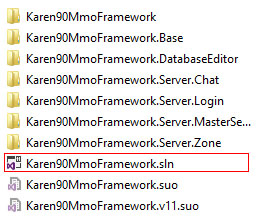 5. Before compiling the project we need to include the dependencies otherwise the project will not compile. After opening the project there should be 7 different solutions. Click each solution and add the references according to the following map. The references can be located at "Photon/lib" and "RavenDB/Server". 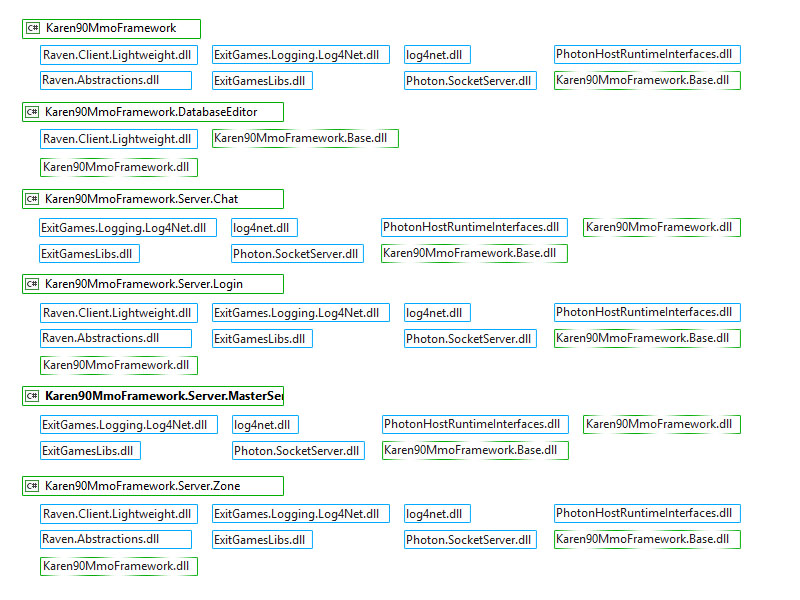 5. Compile the project. 6. Open the photon installation and locate photon\deploy and create a new folder called "MMO" (You can name it whatever you like but make sure to change the name accordingly when we make changes to the config file which will be explained later) 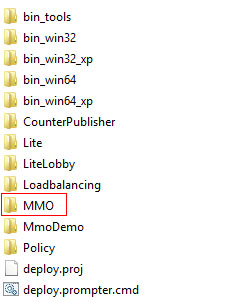 7. Inside the MMO Folder create 5 different folders called "Master", "Login", "Character", "Chat", "Zone1" and create a folder called "bin" in every 5 folders. 8. Copy the compiled files from step 5 into each 5 folders inside the "bin" folder. 9. Open the config file located inside the photon directory. "Photon\deploy\bin_win32\PhotonServer.config". Depending on your operating system the bin folder maybe different so make sure to locate the config file inside the appropriate bin folder, for example if you are running a Win64 the config file will be under "Photon\deploy\bin_win64\PhotonServer.config". And make the following changes under the "LoadBalancing tab" 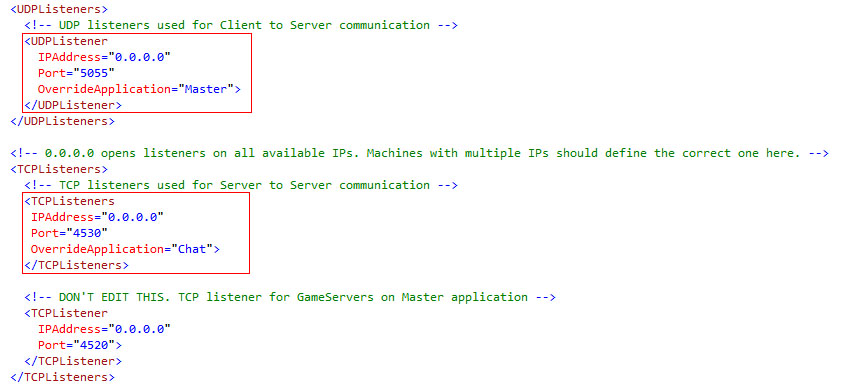 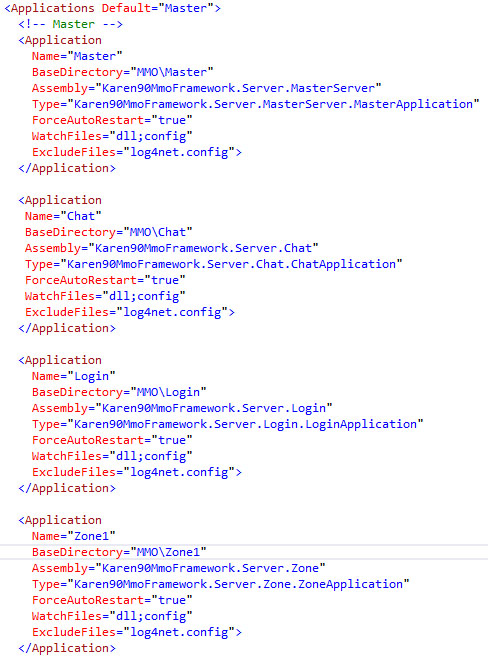 10. Open the Photon Control. Located under "Photon\deploy\bin_win32\PhotonControl.exe", make sure the bin maybe different depending on your OS. 11. Right-click on the photon control from the task bar. And select "LoadBalancing -> Install Service" then start the application by right clicking on the photon control from the task bar then "LoadBalancing -> Start service". If you did everything right the application will start and you will be able to open the logs and view the progress. Client 1. Open Unity. And open the client located under "Zo2 MMO/client". This will take a while to import all the assets. 2. Open the "ConnectionSettings.cs" script located under "Assets/Scripts/Client/Settings/" using Visual Studio or MonoDevelop and change the IP address to yours or use the local IP. Then you are ready to run the game. How to add content to server There is a basic database editor located inside the server project that I created which is sloppy but considering on converting it to a web based database content creator in the near future which will be available for free to download however I do not have an exact date on its arrival still working on it.
14 Comments
Uh
8/28/2013 11:01:05 am
u get more buyers if u make detailed video how install themes and add things
um
8/28/2013 11:02:17 am
u get more buyers if u make detailed video how install thes and add things
Jason
9/20/2013 05:14:53 am
Is this still available, your links don't work on site. And i see its been months since u posted update, any new progress?
Stridervan
11/8/2014 02:29:25 am
The project is back on sale for a limited time
Jon
9/25/2013 09:05:16 am
Thes site dead don't buy. He don't update or make any tutoring videos 10/14/2013 07:01:02 am
If you love what you are doing, and always put the customer first, success will be yours.
download free games
10/23/2013 07:44:21 pm
good post thanks
not cool
11/20/2013 12:45:03 pm
where is new update and video
Stephany
11/3/2018 07:14:37 pm
Hi, i have error on compile about DigitalRunes.dll ... where i find them plz? Leave a Reply. |
 RSS Feed
